


Step 1: Shut off the main gas supply and electrical switch (if equipped). Locate the shut-off valve and close it to prevent gas flow. This is to avoid accidental ignition. Remove leaves and stones inside the cage (if necessary).
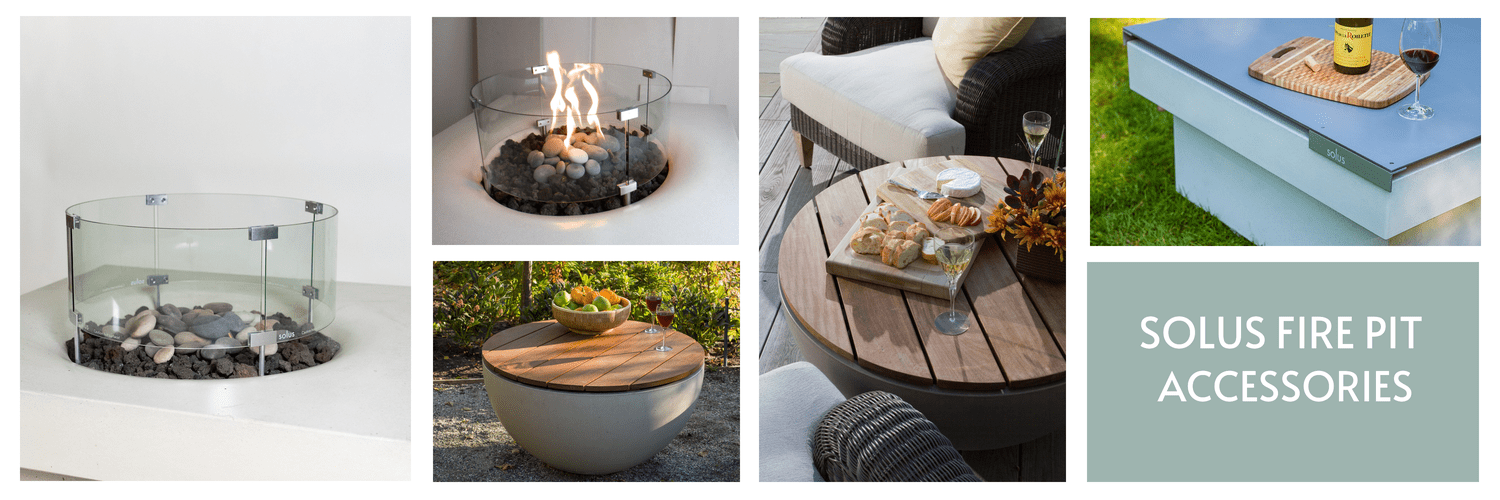
Step 2: Remove all accessories like wood top and glass shield and store indoors. If your fire pit has removable components such as a glass wind guards, consider storing them indoors for the winter to prevent damage and to allow the cover to fit snugly.Clean and dry the components before storing them.
Step 3: Clean the exterior of the fire pit. Remove all debris, leaves and soot from the fire pit. Moisture, dirt, dust and other surface contaminants must be wiped and cleaned. Use warm water and soap.
Step 4: Clean the burner. Use a soft brush and avoid using abrasive materials that could damage the burner.
Step 5: Clean the Ignition (if equipped). For electronic ignition, use emery cloth or very fine sandpaper (above 400) and gently buff the ignitor, the pilot assembly and the thermosensor only if they look discoloured or sooty. If they look clean, leave them alone. For manual ignition with a flame supervision device, if dirty, use the same method of emery cloth or very fine sandpaper.
Step 6: Check Pilot Assembly (if equipped). Check and remove any debris and soot inside the pilot cage and within the burner. Any debris can trap moisture during storage and can result in a clogged and blocked orifice. TIP: Using a compressed air duster or vaccum to clean the burner nozzles and pilot assembly really helps to blow any debris or water out and can avoid having to dissemble the pilot and significantly improve the strength of the pilot flame. These can be purchased online or in electronics stores.
Step 7: Inspect the firepit. Inspect the burner, gas lines, and ignition system for signs of wear, corrosion, or damage. Look for rust, cracks, or loose connections. This requires you to remove the rocks (put them in a bucket) and pull the burner up via the burner manifold and inspect the connections underneath. Ignition issues can often be a simple loose connection. Make sure you put a blanket or some sort of fabric to protect the rim or the surface of the fire table. The metal stand of the fire pit burner can scratch the surface so please be careful.
Step 8: Protect Gas Lines. If the gas lines are exposed, consider insulating them with pipe insulation to prevent freezing. Freezing temperatures can cause the gas lines or hoses to contract and split and potentially lead to damage.
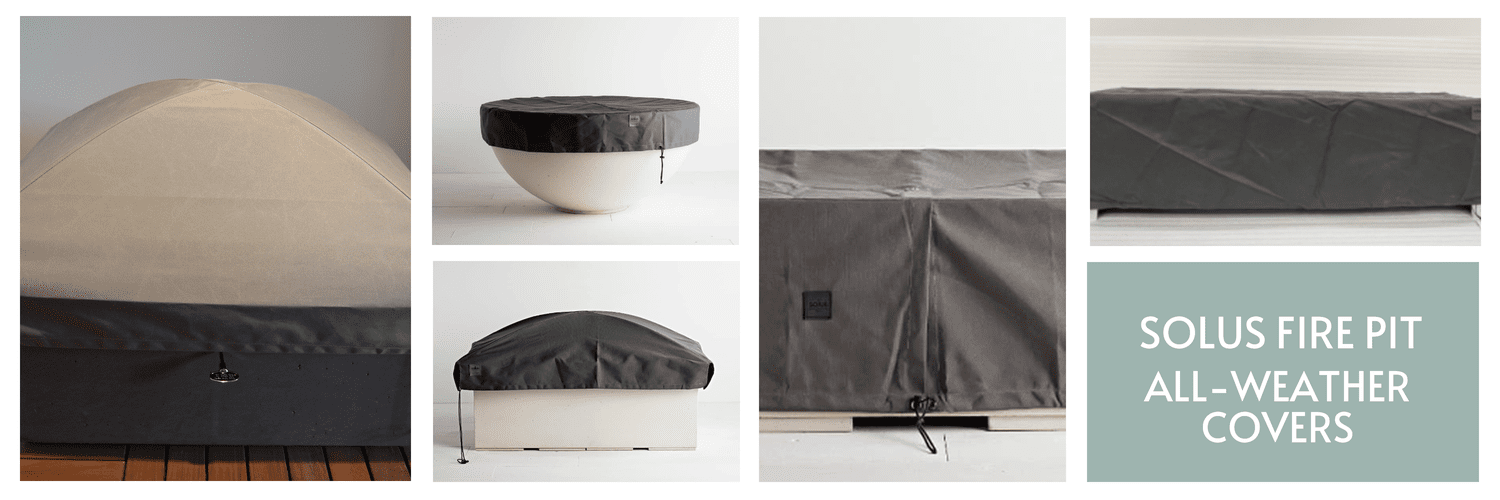
Step 10: Cover your firepit with a Solus high-quality, weather-resistant cover. You must keep the burner dry. This is to protect your investment. If you have a table surface, the cover must be tented to ensure water does not pool on top of the firepit which will affect the surface negatively. Ensure the cover is securely fastened to protect the fire pit from snow, rain, and debris. The all metal covers will also protect the firepit over the winter. If you no longer have your Solus cover or the all-weather cover is old and started to lose its’ shape (water can pool on top of the cover in winter). A replacement can be purchased from our online store.
It is not uncommon for people to not use their fire pit for some months and then decide to throw a party. Or it is the first time using your fire pit in the Spring. If you are planning to run your fire pit, do a trial run before hand.
Step 11: “Purge” the gas line of air. If the fire pit is started after some time off, air can become trapped in the line or hose. In this case, the firepit needs to be purged.
Step 12: Perform a leak test – reverse and sequence plus. Before the first use, conduct a leak test to ensure there are no gas leaks. Use a soapy water solution to check all connections for bubbles, indicating a leak. If you find a leak, contact a professional for repairs. It is suggested you use compressed air on the burner jets prior to ignition.
And remember for electronic ignition to take off the cover!
For further information, here is our troubleshooting guide to help: Guide:Troubleshooting